
Creating an Assessment
1. Click on “Library” in the top right corner of your homepage.

2. Click on “My Content.”
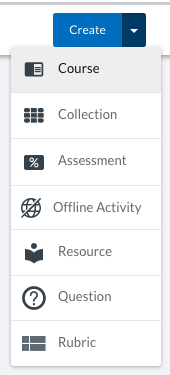
3. Select “Assessment” from the blue “Create” drop-down menu on the right side of the screen.
4. Give your assessment a title and click “Create”.
5. This will bring you to the “Edit Assessment” page.
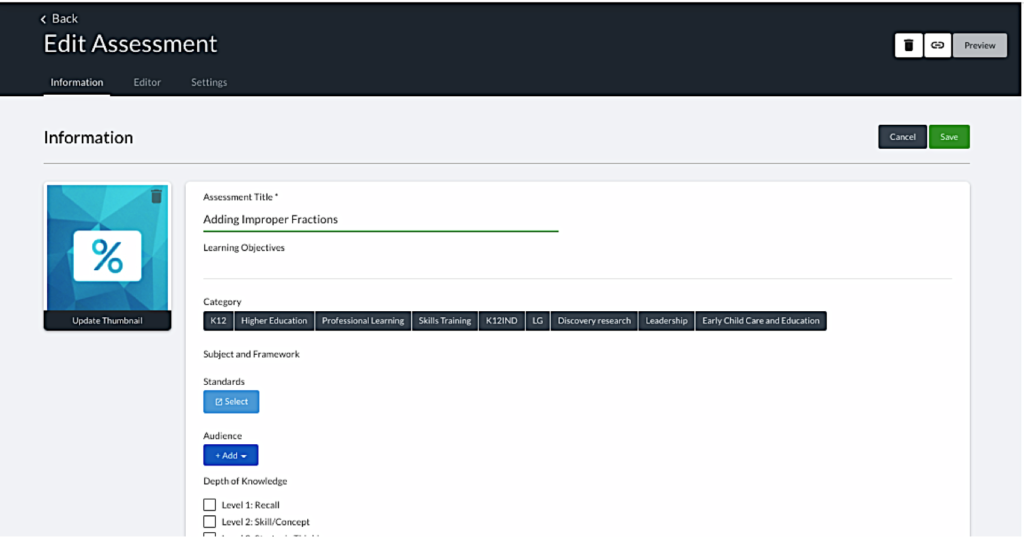
6. To edit the assessment’s settings, you can:
- Click “Update Thumbnail” and select an image from your computer to change the assessment cover image.
- Edit the “Assessment Title” if desired
- Add Learning Objectives
- Select “K12” then choose the “Subject and Framework,” and select standards to tag the assessment
- Indicate the Depth of Knowledge required to answer the question
- Enter the Estimated Time to Learn (ETL)
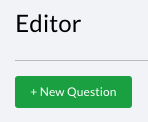
7. To add a question to your collection, click “New Question.”
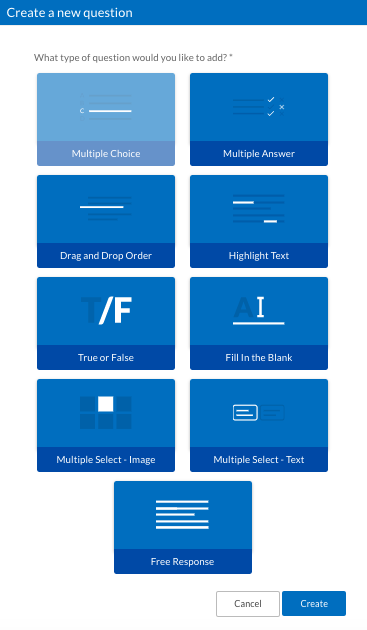
8. In the window that opens, select the type of question you want to add. Click “Create.”
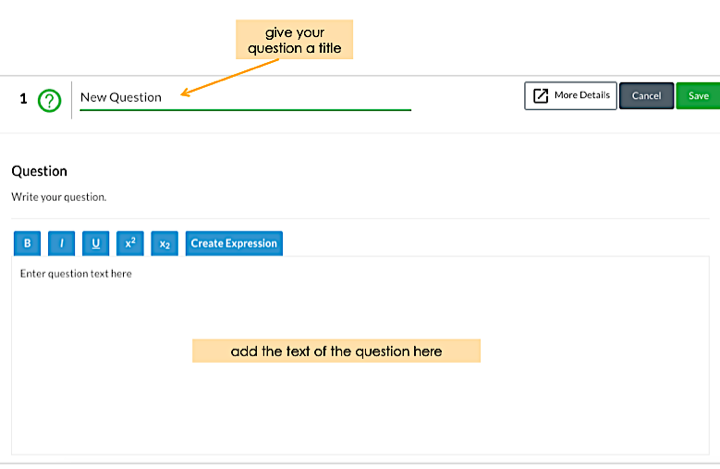
To create your question:
- Enter a question title
- Type in the text of the question
- Click “Create Expression” to add mathematical expressions or symbols
- Add question images by uploading from your computer
- Add answer choices
- Select the correct answer(s)
- Add an exemplar
- Click “Save”
9. Scroll down to edit the assessment’s settings.
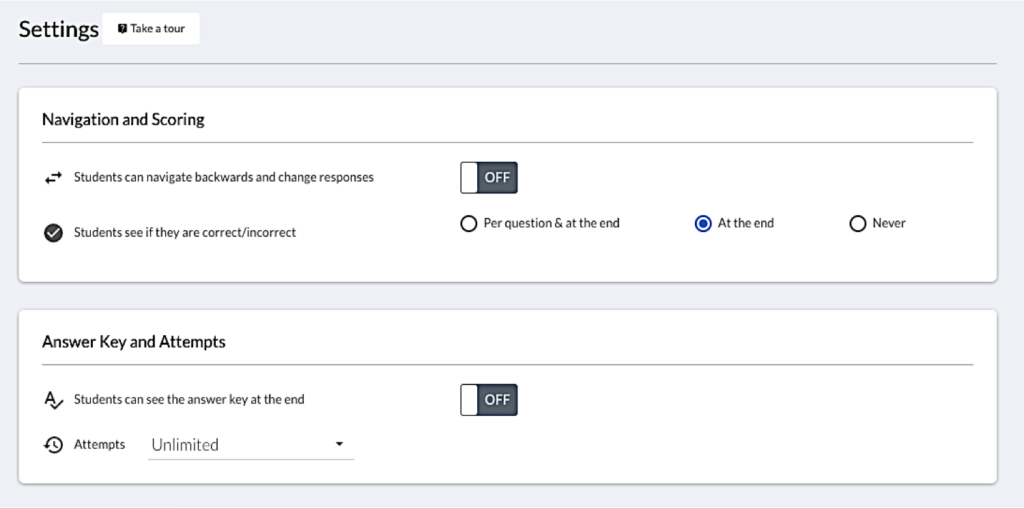
10. You can edit:
- Whether or not students can navigate backwards during the assessment (toggle to On/Off)
- When students see if their answers are correct or incorrect
- Whether or not students see an answer key after the assessment (toggle to On/Off)
- How many attempts students can have on the assessment
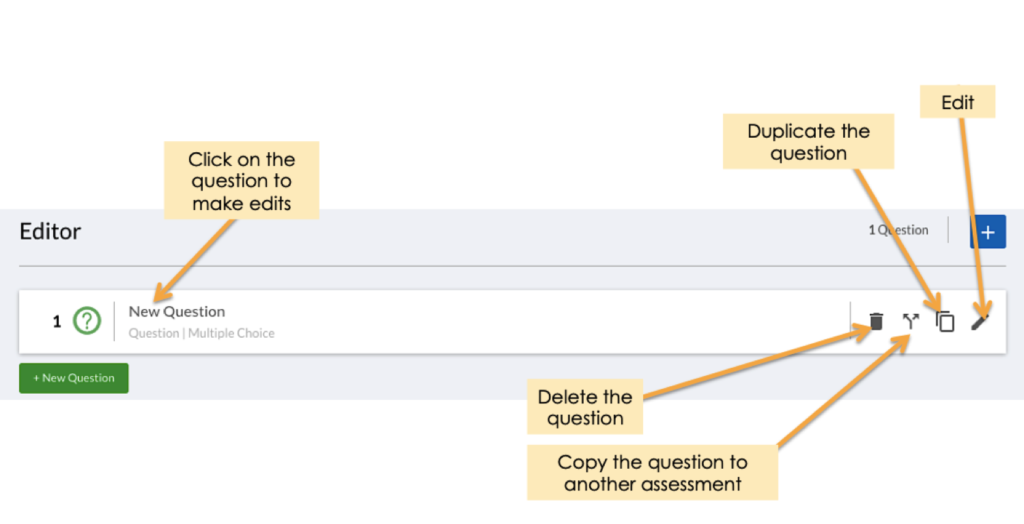
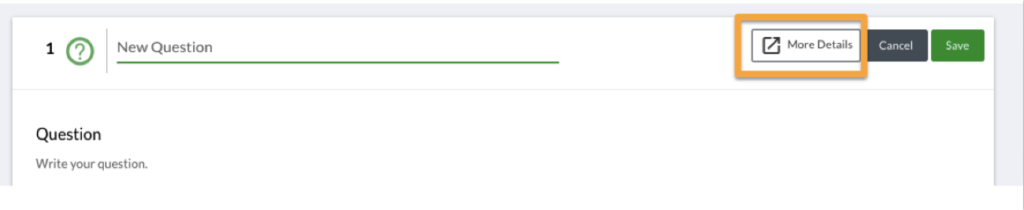
11. To tag a question to a specific standard, click on the question and then on “More Details”.
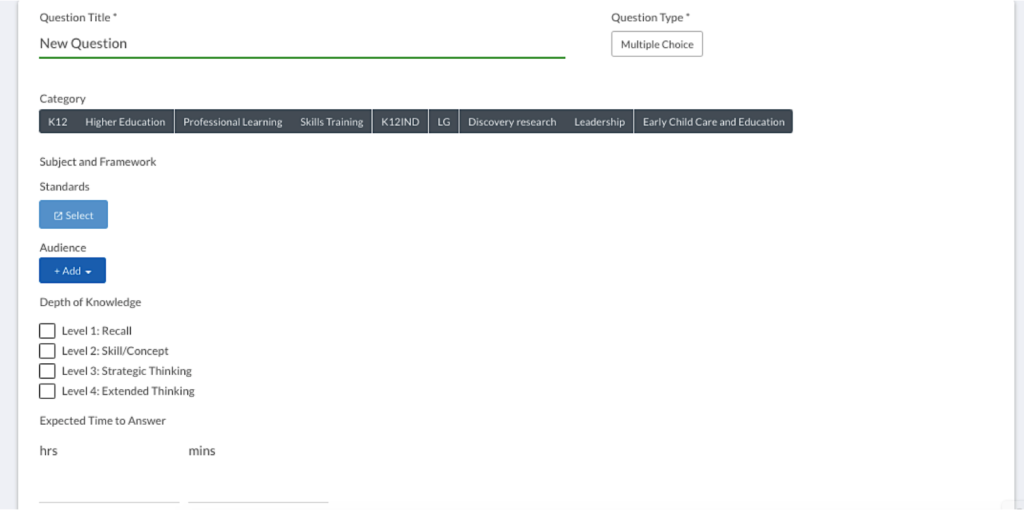
12. Scroll down and select a framework and standard. Then, click “Save”.
Your assessments are accessible to you at any time in your Library (“My Content”). Clicking on the assessment allows you to edit it.
0 Comments