
Creating a Course from Scratch
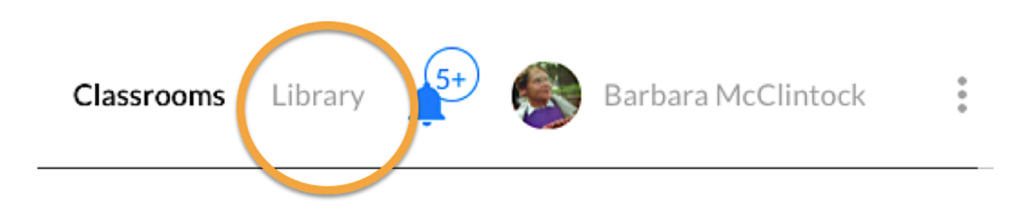
1. Click on “Library” in the top right corner of your homepage.
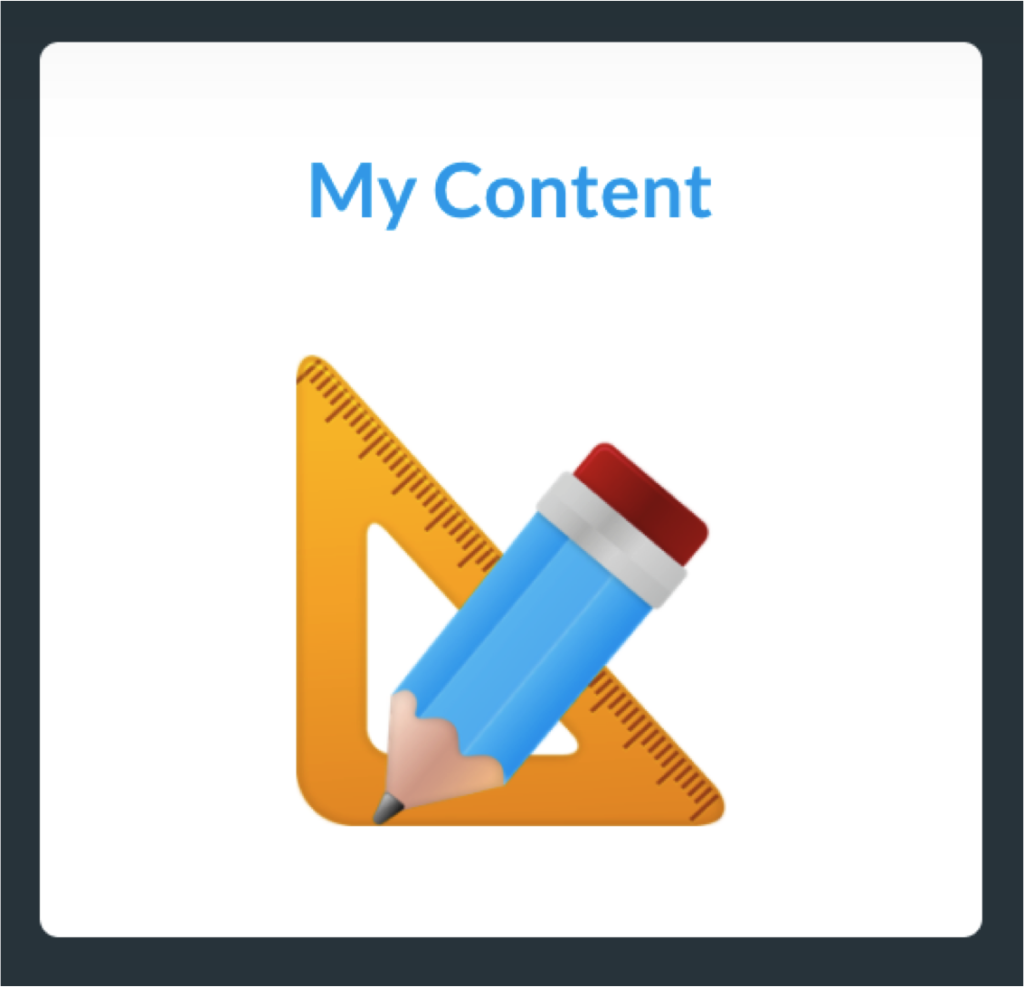
2. Select “My Content”.
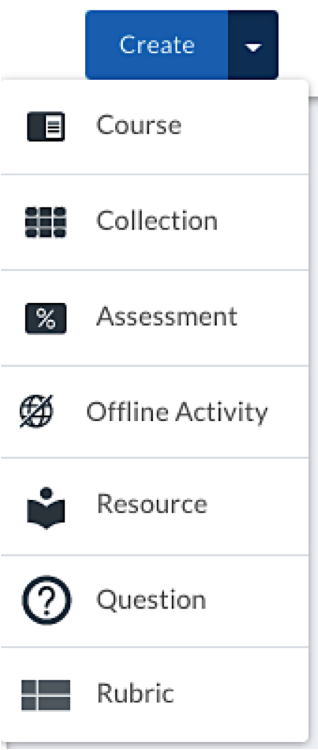
3. Click the blue “Create” button in the upper right corner of the screen. Select “Course” from the drop-down menu.
4. Give your course a title, select “K12,” and then “Create.”
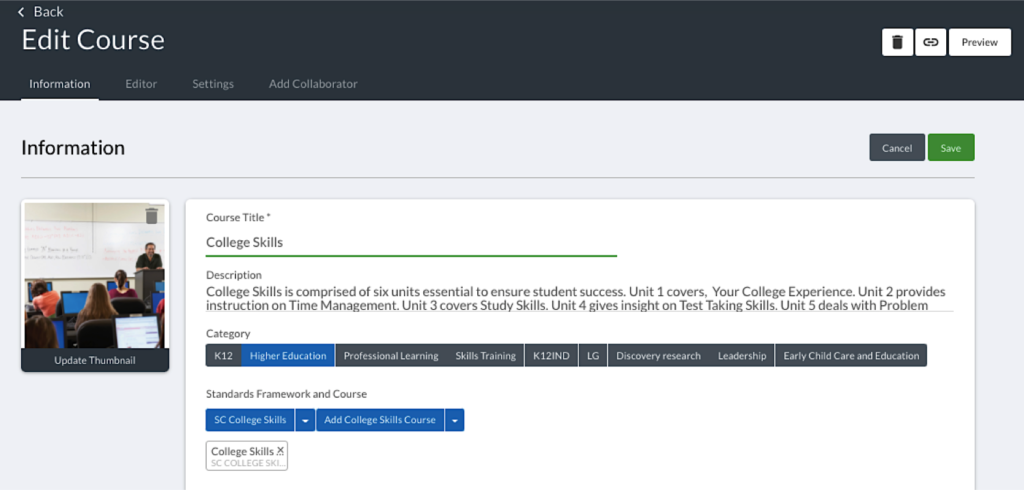
5. Once your course is created, you can edit its title, description, framework, audience, and thumbnail picture. Click the green “Save” button after any changes.
6. You can also add units and lessons to your course and resources to each lesson. For instructions, please see Creating a New Unit or Lesson and Adding Collections or Assessments to a Lesson.
7. Your course is accessible to you at any time in your Library.
8. Click “My Content” (as in Steps 1 and 2) to access courses you have created or remixed. Clicking on the course allows you to edit it.
0 Comments